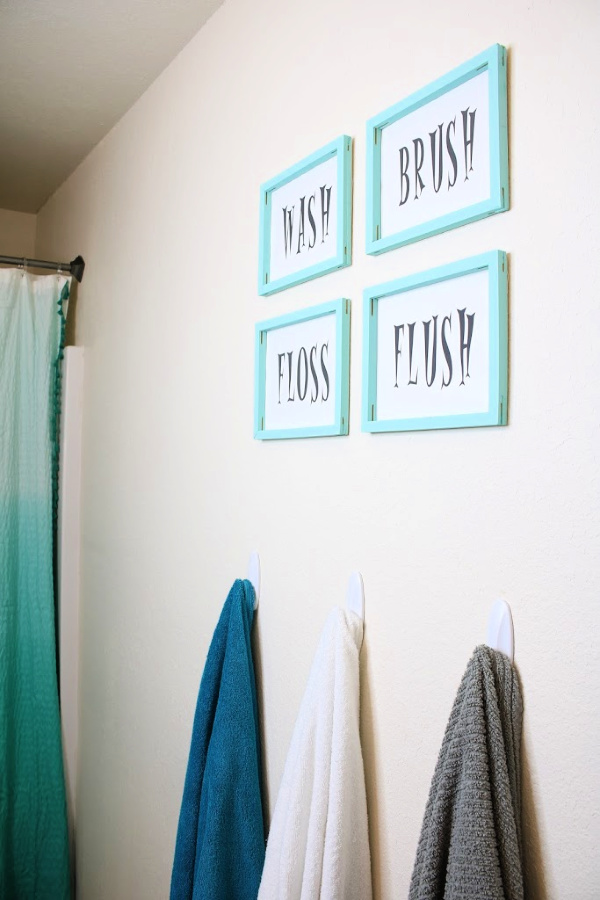
I’ve been seeing lots of tutorials for these reverse canvases and I had to try it for myself! I knew this set of four would be the perfect wall décor for my kids bathroom.
This post contains affiliate links. I may make a small commission if you purchase something when clicking on my links. It doesn’t cost you any extra!

I created this set of reverse canvas wall décor using Dollar Tree stretched canvas, which made my cost for this project around $6! The only other supply I purchased was the chalk paint.
Here is what I used for this dollar store reverse canvas:
4 stretched canvases (8x10)
chalk paint
vinyl
modpodge (optional)
foam brush
tools: craft knife, scissors, ruler/straight edge

Watch The Video Here!
To remove the canvas from the frame, I used my pen blade to cut along the outer edge of the canvas on the back side of the frame. I removed the staples, at first using my scissors before finding that a flathead screwdriver worked better.
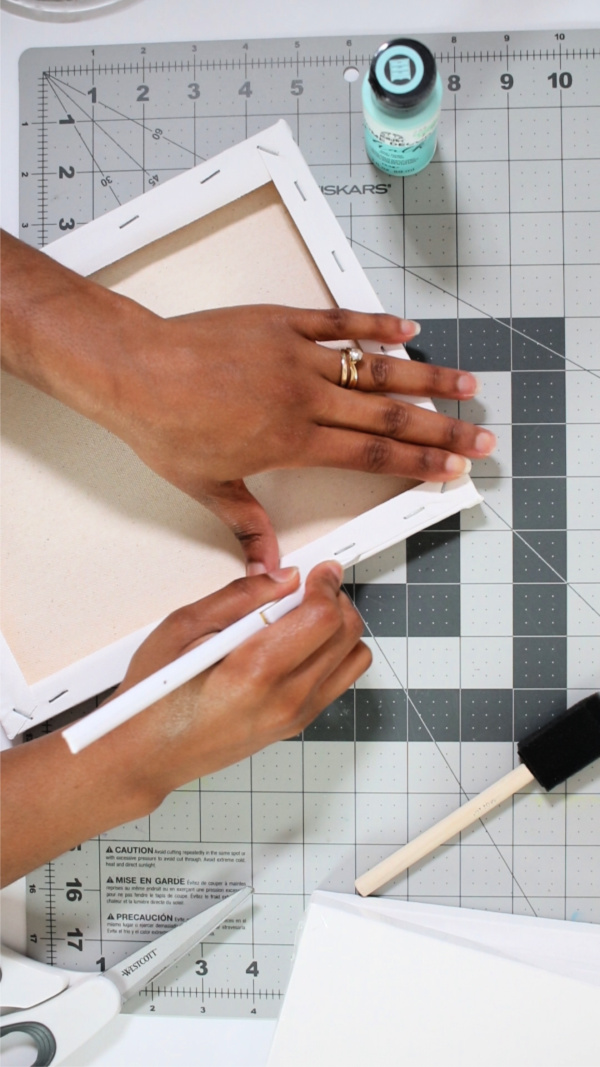
2. Once the entire canvas was free from the frame, I used my ruler as a straight edge to cut the excess canvas. You’ll want the cutout to fit on the frame without any overhang. If you don’t have a craft knife, scissors will do just fine!

3. I decide to paint the frames using chalk paint in the color patina (by Folkart), which matched perfectly with the shower curtain in my kids bathroom. I also sanded the frame to remove some rough edges.

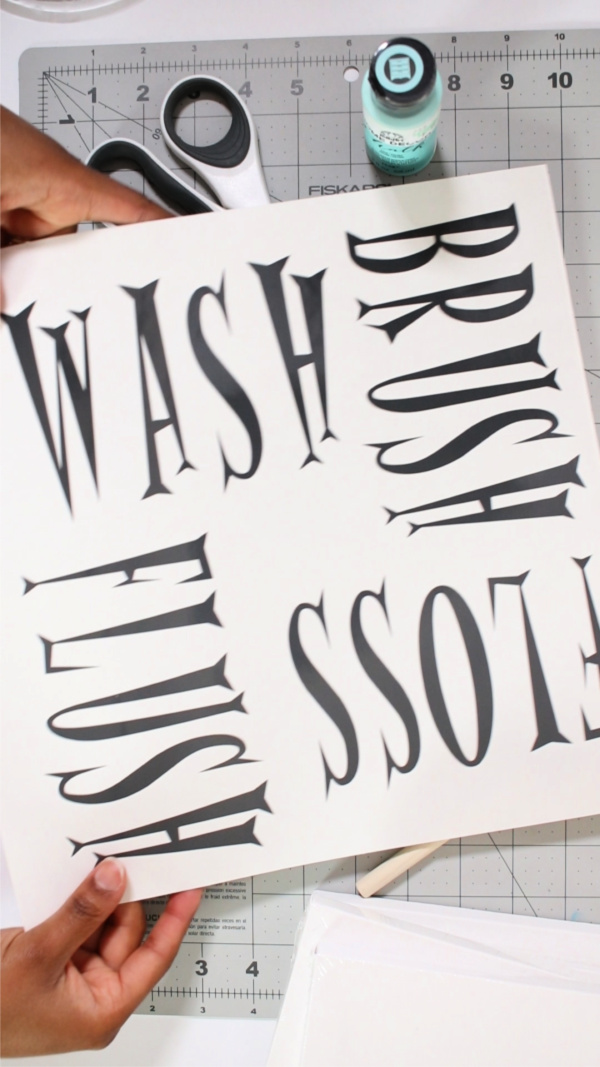
4. I cut the words wash, brush, floss, flush out of adhesive vinyl using my cricut maker. I thought this design space font (Alleycat Bop ICG) was soo fun! If you are new to cricut, check out my tutorial for creating vinyl decals. If you don’t have a cricut or other vinyl cutting machine, check out my diy stencil tutorial!
5. Before applying each decal, I coated each canvas with modpodge (in a matte finish) to help the vinyl adhere better. This step is optional, but I’ve found that the vinyl resists sticking to the textured surface of canvas material. The final step was reattaching the canvas to the frame, which I did using hot glue and a few staples for security.

Here it is in the bathroom! Isn’t it just the cutest wall décor piece for a kids bathroom?! I’m hoping it also serves as a reminder for my kids! The jury will be out on that!