I’m determined to have my front porch be an inviting space where my family can spend time hanging out this summer. Our backyard is much smaller compared to our previous home and it slopes slightly. Until we can get the grass to grow and maybe put up a fence for safety and privacy, we’ll stick to the front porch!
This post contains affiliate links. I may make a small commission if you purchase something when clicking on my links. It doesn’t cost you any extra!
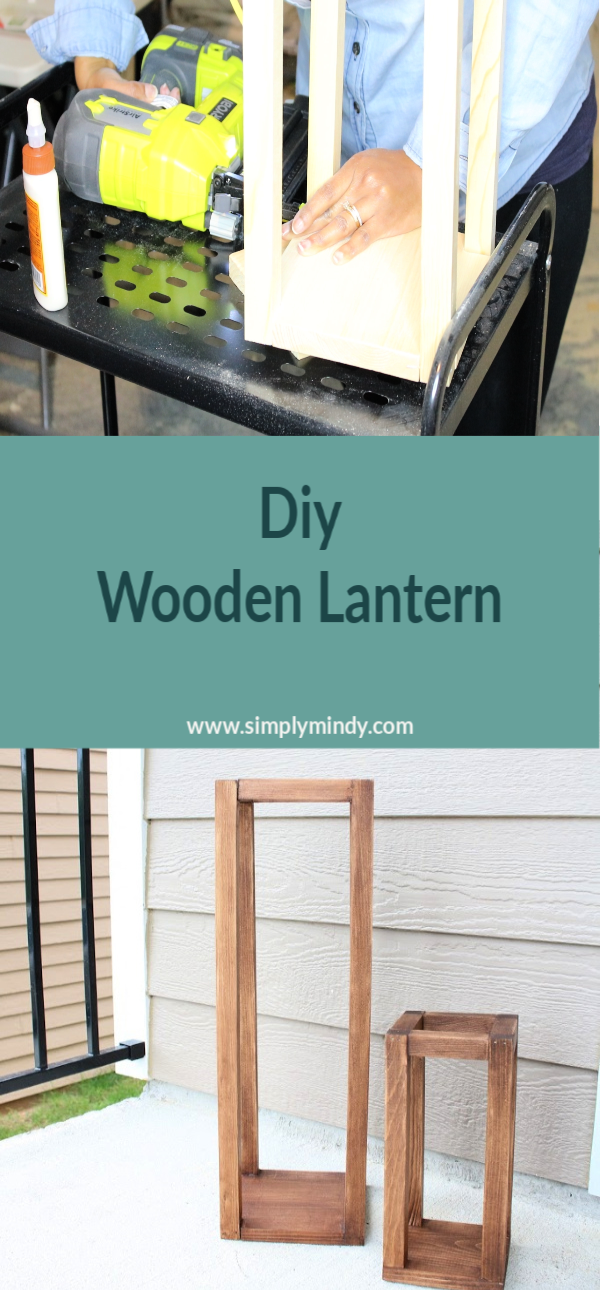
I love the look of wooden lanterns, but I don’t love the price tag for the larger ones (which is what I wanted). I figured out that I could make a diy lantern by simply using a square piece of wood and some square dowels! I created two wooden lanterns for around $30 (including stain and clear coat)!
Here is what I used for my diy lanterns:
5 square dowels
2 square pieces of wood
1 1/2 inch brad nails (optional)
wood glue
jigsaw (optional)
miter saw (optional)

I wanted my larger lantern to be 2 feet tall, so I cut four of the square dowels at 24 inches using my miter saw. This can also be done using a hand saw, or you can ask your hardware store to cut it! The store may not be able to cut the shorter pieces though!

2. Once I had my dowels cut, I traced the shape onto each corner of the square base. I then used my jigsaw to cut those corners out. I will say this step it completely unnecessary! It is something I wanted to try because I’m still getting used to my jigsaw. I skipped this step with the smaller lantern, and simply glued the dowel to the surface and nailed from the bottom.


3. I used wood glue and brad nails to attach each dowel in the corner. Because the cutouts were not perfect (I am not a pro) I used wood glue and sawdust to fill in any gaps.


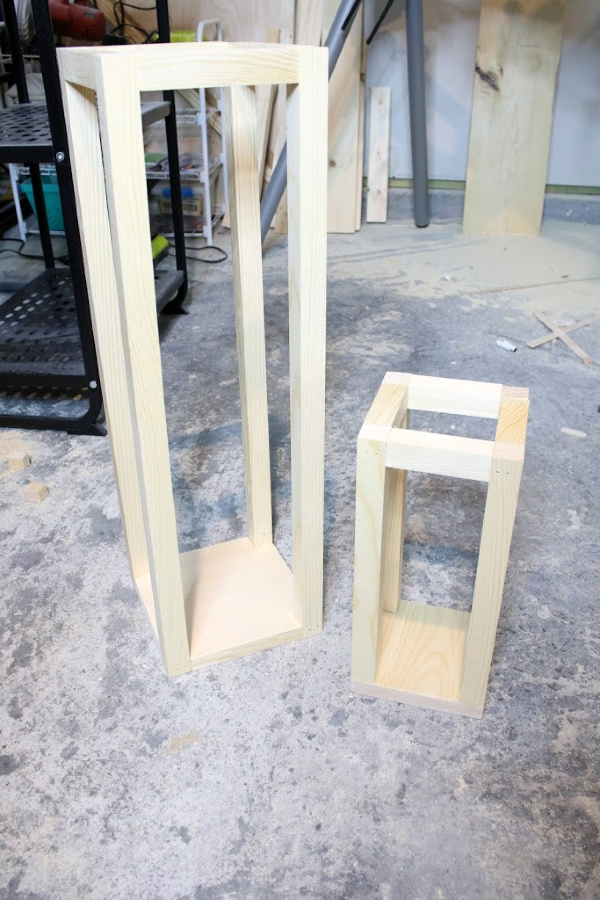
4. Once the corner dowels were attached, I measured the space between each one and cut smaller pieces to connect at the top of each post. I used wood glue on either end of each small dowel piece and clamped it in place until dry.
I repeated the same basic steps (except for cutting out the corners) to create the smaller lantern, which means no waste!

5. To finish my lanterns, I choose to use a walnut gel stain. Since my lanterns will be used outdoors I also used a spar urethane top coat to protect from the elements.

I’m looking forward to adding a few more decorative accents and maybe some greenery to liven up the front porch! Check out the rag wreath I made for the spring/summer season!
Save For Later!