simple

How to Organize a Spice Cabinet on a Tiny Budget!

Today, I'm sharing how I organized my spice (and tea) cabinet for under $10! I didn't go out and buy any fancy jars or containers. I simply decluttered (read threw out expired stuff!) and reorganized the space. Again, I am not striving for perfection but improving function. 

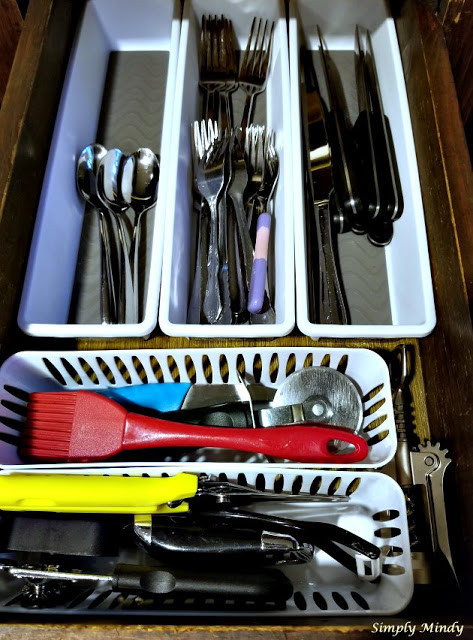
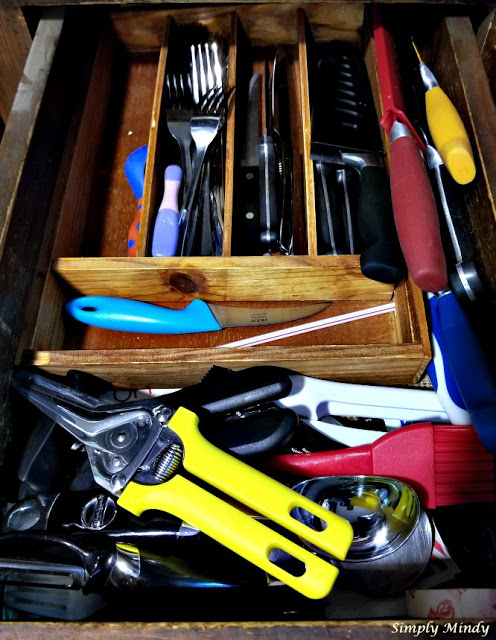
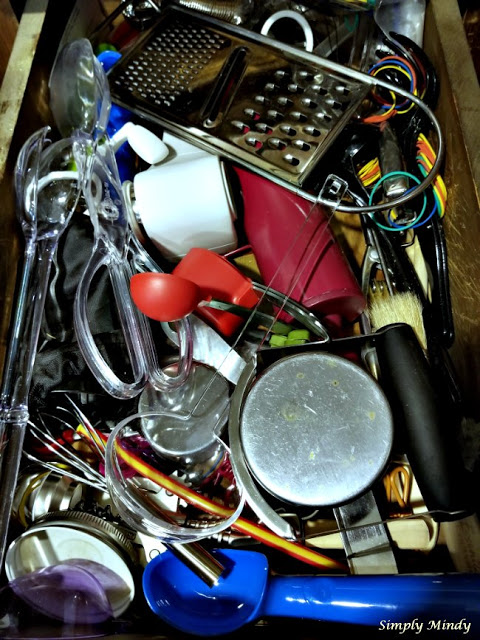
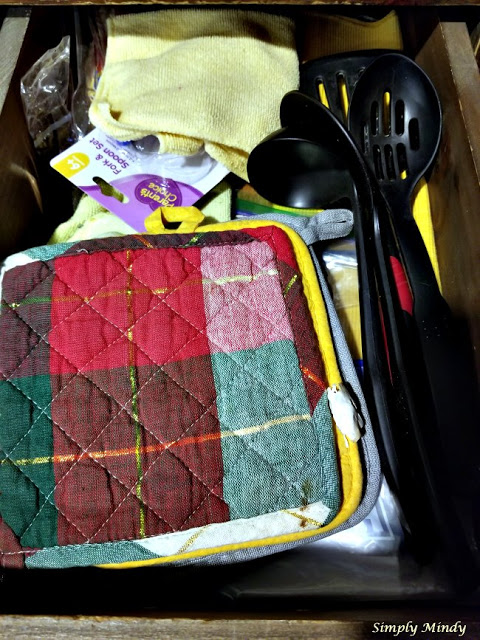
Here are the cabinets before...

And here are the items I purchased for organizing.


 - slim baskets
 - under-shelf basket
 -  clear, 3 compartment organizer with lid


I sorted the spices by type and amount of use. 

Above the spices I added the under shelf basket to hold extra bags of coffee.
The fourth basket is one I had on hand.

*Tip* Use under-shelf baskets in your pantry (or any shelf with space underneath) to hold foil, plastic wrap, zipper seal bags etc.

I repurposed the tiered shelf riser to organize my teas.

I mainly wanted to minimize packaging. These compartment organizers are the perfect size for teabags. Each section fit about 10 bags. I also labeled the front for the teabags not individually wrapped.
I love that I can use the organizer with or without the lid!

But, since I removed the packaging I decided to cut the expiration date off the boxes and added to the back of each container. 

- I used double sided tape to attach the expiration dates. 
This new setup is perfect in my book!  The tea organizer is my favorite. I can clearly see how much of each tea I have on hand. What is your favorite part?


No Sew Table Runner

This no sew table runner is soo easy to make you could make one in every color! Not that you need one in every color, but you'll see what I mean. Because this is made using placemats from Dollar Tree, you could change this out seasonally by using different colors or patterns. Or, you could easily add details with ribbon or other embellishments. The best part? It only costs $3!

Here is how mine came out...


To make this no sew runner, all you need are placemats and hot glue. And any embellishments you want to add.


Before starting I measured the length of my table. I used three placemats.

To put the runner together:

- fold over the seam on the end of one placemat

- glue the seam onto another mat while overlapping by about 1 1/2 inches

- turn over and glue the over hang

- seal the gaps created by the overlap


Repeat these steps to add the third placemat. The folded seams will be on top, creating a tiered look. 
You could stop here and have a nice simple table runner. But, I had to take it a step further to match my color scheme.

I added tassels using twine:

- cut a bunch of strips of twine about 2 inches long

- wrap the twine around hand (or any flat object the desired length of your tassel

- using one the strips, tie on to one end and create a knot

- cut the other end open to create strands

- using another small strip, tie around the strands about 1/2 inch below the top knot to create a loop


I attached the tassels using hot glue.


And here is the final result.


This was my first time making tassels, and I'm loving them! What do you think? Until next time, thanks and God Bless!

Living Simply, 
Mindy✿


Easy Kitchen Drawer Organization

Do you want to know the secret to organizing kitchen drawers? Wait for it…this is mind-blowing! The secret to organized kitchen drawers is…there isn’t one. I don’t mean to be dramatic, but I’m here to tell you that organizing isn’t about having the prettiest, most expensive dividers or fancy contraptions. And you don’t have to get sucked in to the vortex of glamour shots that is Pinterest.

Now, don’t get me wrong, I’m all about using Pinterest to spark ideas and keep my mind working to get more creative. But, when it comes to your home you have to live in it. And what works for someone else will not necessarily work for you.

So, let me show you a very easy and inexpensive kitchen drawer update that literally took about a ½ hour and made a noticeable difference in functionality.

Here is what each drawer looked like before.

Part of my wanting to revamp these drawers was the fact that the kitchen was not part of the renovations we made to our home. The cabinets are probably original to the year our home was built in 1925. No joke! But, I have to live with them in the meantime.

And here is the after. I decided to categorize items by amount of use.

What a difference purging and decluttering can make! How about that towel folding! And for about $6 worth of dollar store baskets this is a much more efficient use of the space. Now I know exactly what I have in each drawer without having to move anything around.

If you liked this, you may like these budget friendly pins I found!

DIY Cereal Box Drawer Organizer by

The StonyBrook House

Pegboard Drawer Storage

by

From House to Home

And this Baking Utensil Organizer (using paint sticks) by

Dreaming In Color

What areas in your home are you organizing? Thanks again for stopping by, and God bless!

Living Simply,

Mindy