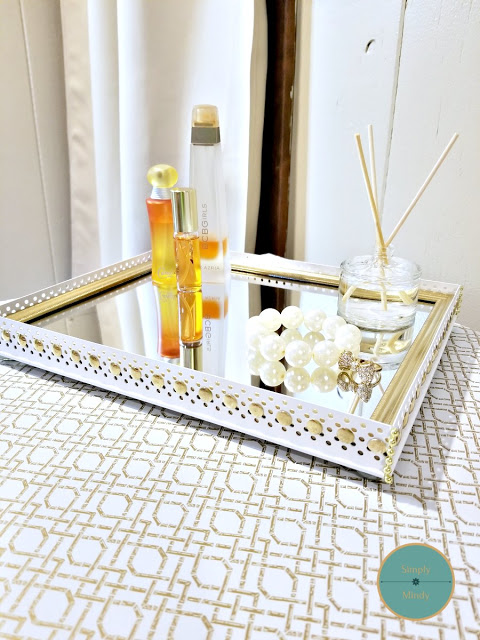
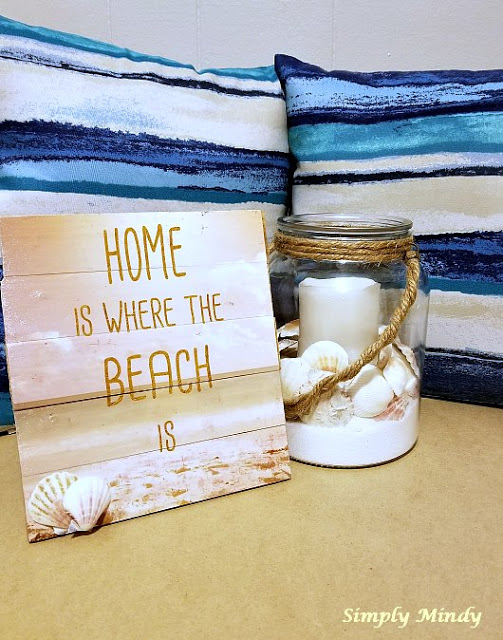
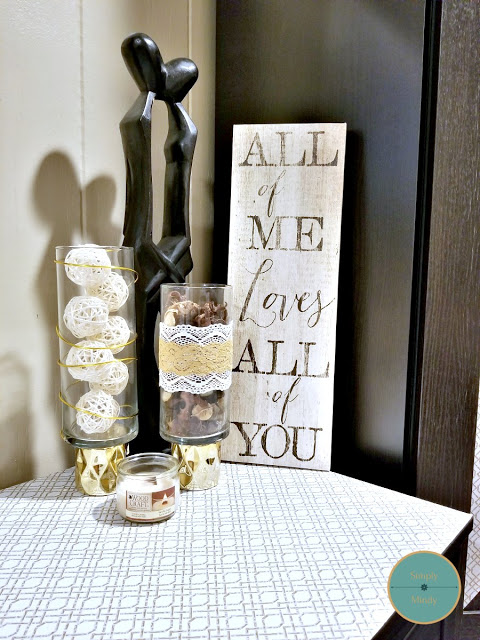
Today I'm sharing a super simple décor diy using cylinder vases, some vase filler, and embellishments. I wanted to add another decorative touch to my dresser since updating it with the contact paper. And since my husband has decided he wants gold bedding, this project will be the perfect addition. By the way, if you know where I can get gold bedding (at a reasonable cost) let me know. Lol. Plus, all the supplies used (except for glue) are from the dollar store.
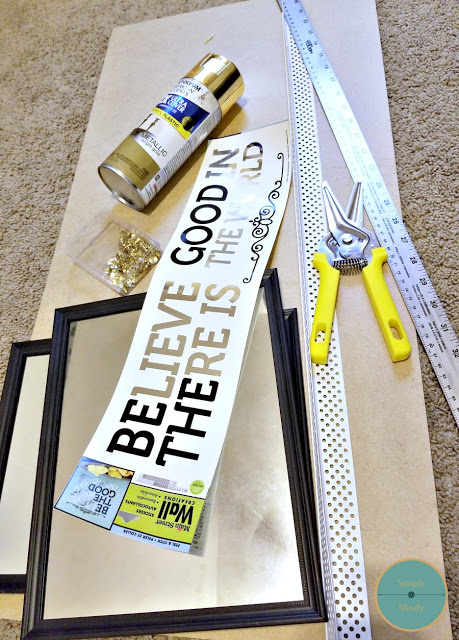
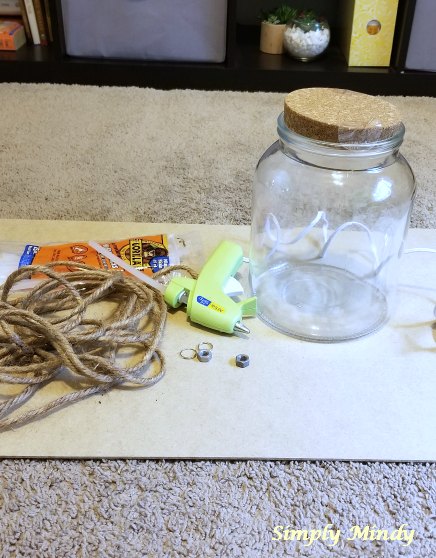
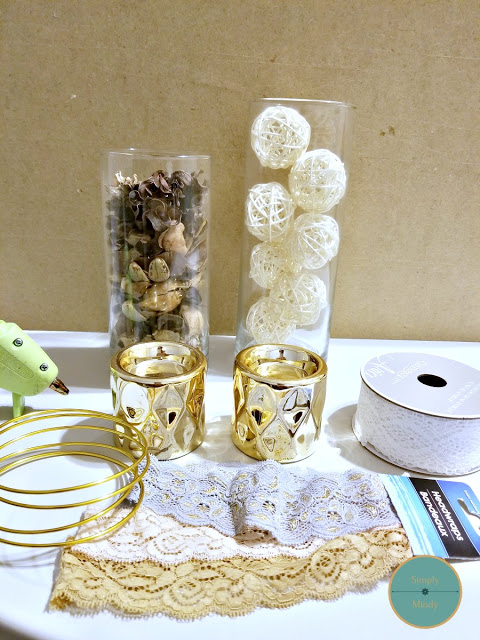
Supply list:
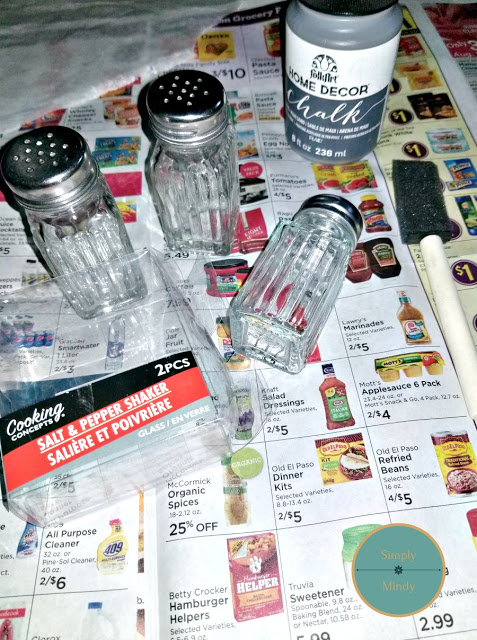
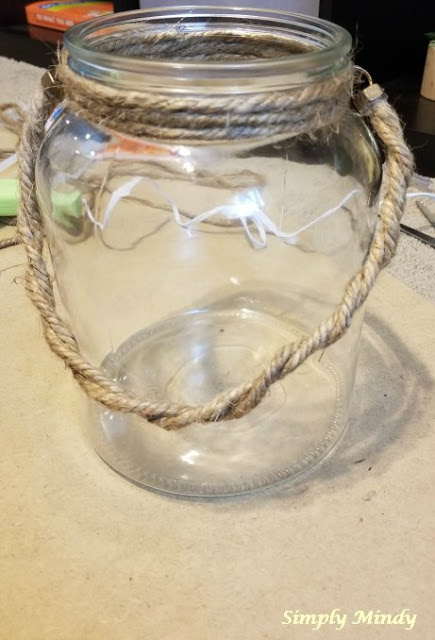
- 2 cylinder vases (one 7.5 in. and one 9.5 in. in height)
- 2 gold tea light candle holders
- Embellishments
- Vase filler
- Glue
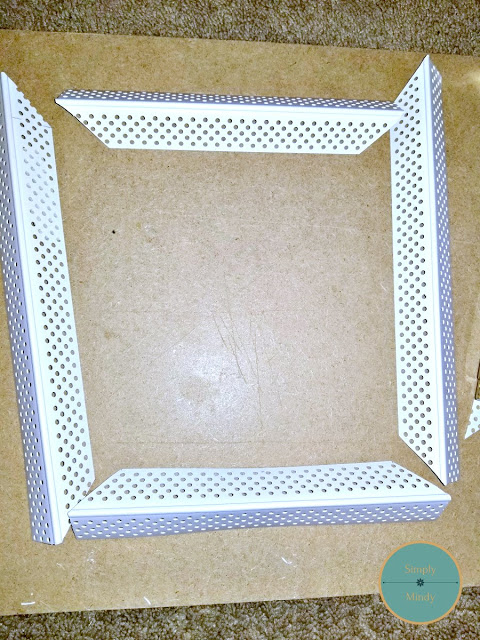
Step 1:
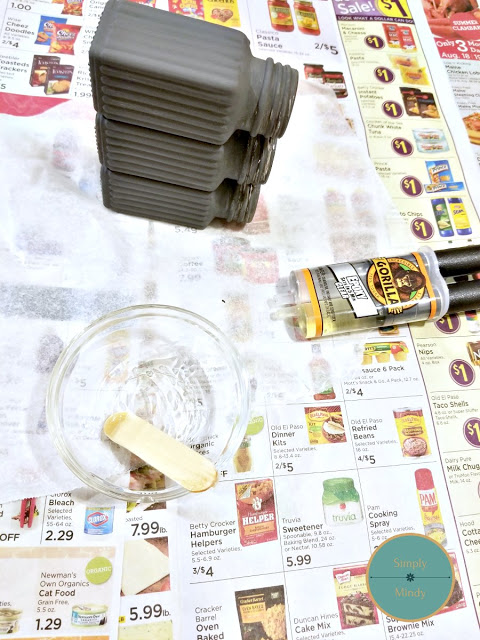
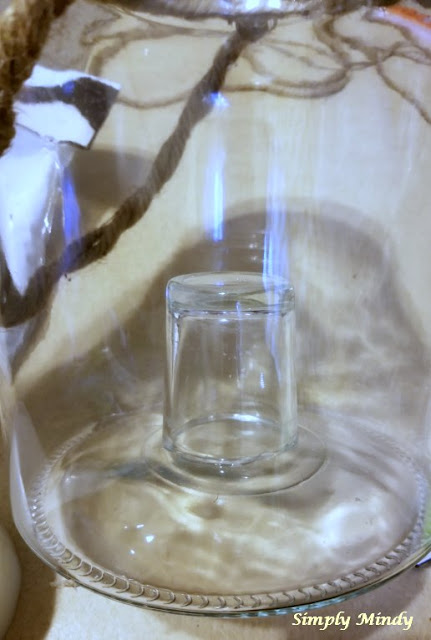
glued each tea light holder to the base of each vase

-I used hot glue, but for a more permanent hold I would suggest a stronger adhesive. I wanted the option of changing the look of these.
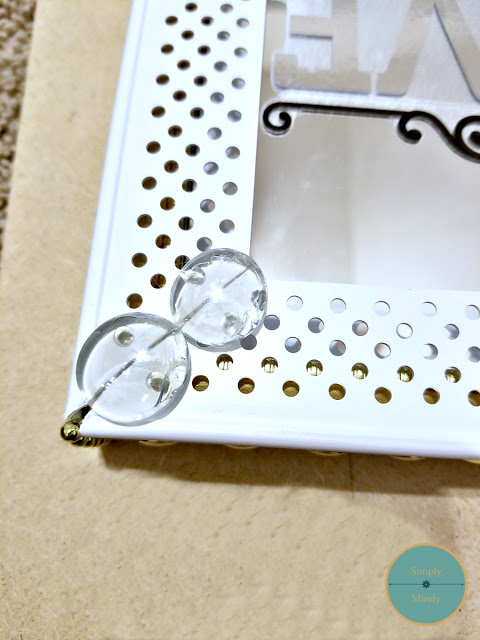
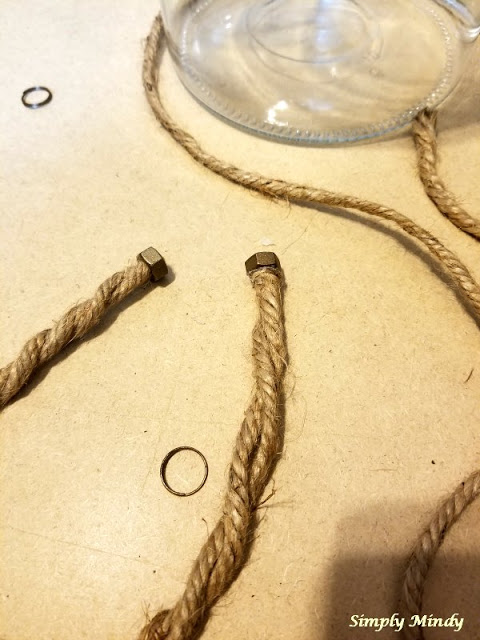
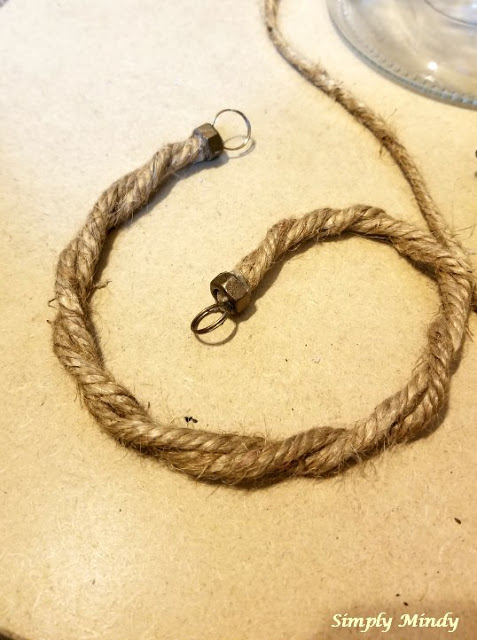
Step 2:
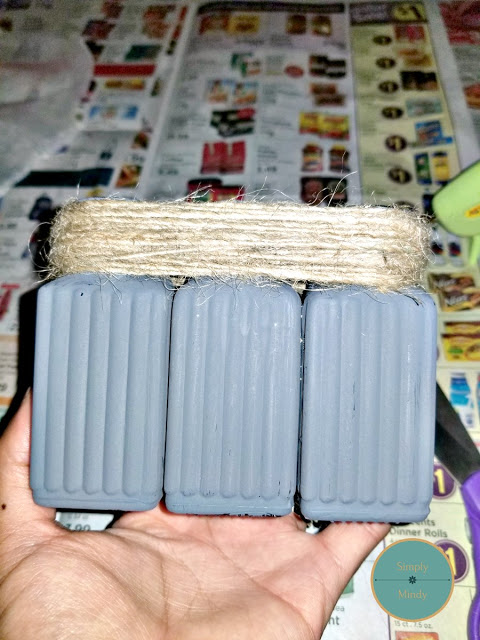
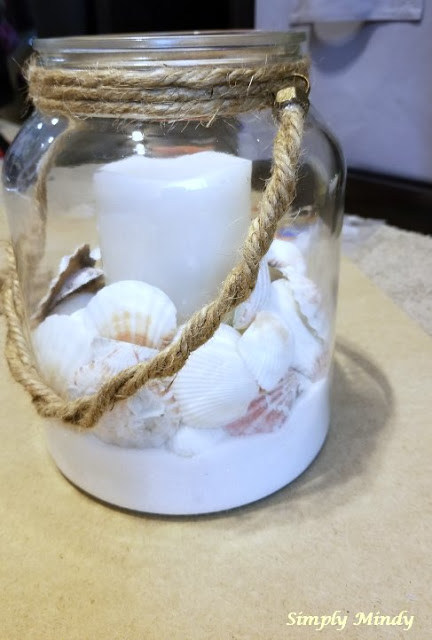
added embellishments
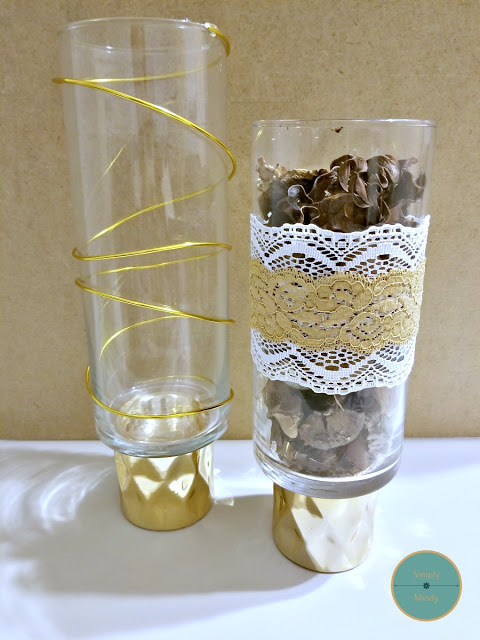
-I used gold toned floral wire around one vase, gluing at the top and bottom of the vase. On the other I layered a lace head wrap over white lace ribbon, using hot glue to secure. The white lace ribbon is not from the dollar store, but is optional.
Step 3:
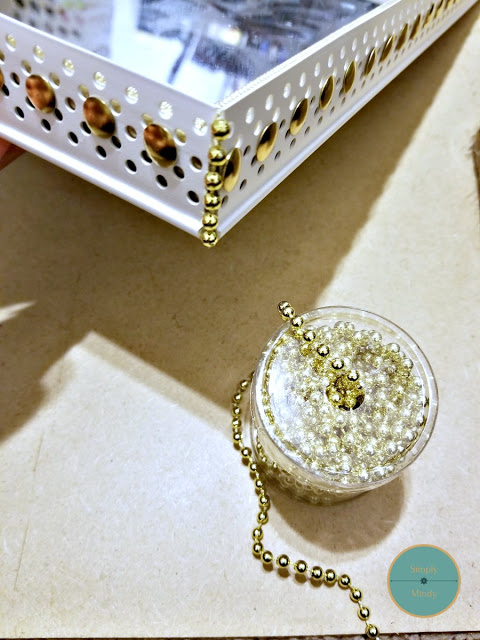
added vase filler
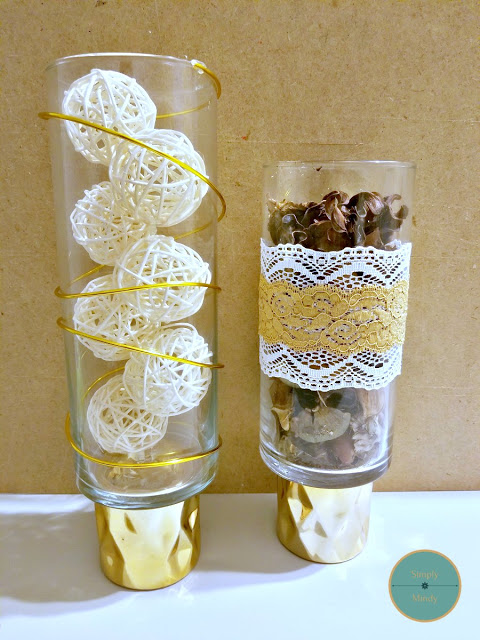
-In the taller vase decorative rattan balls (leftover from my beach themed chandelier diy), and the shorter vase is filled with vanilla scented potpourri.
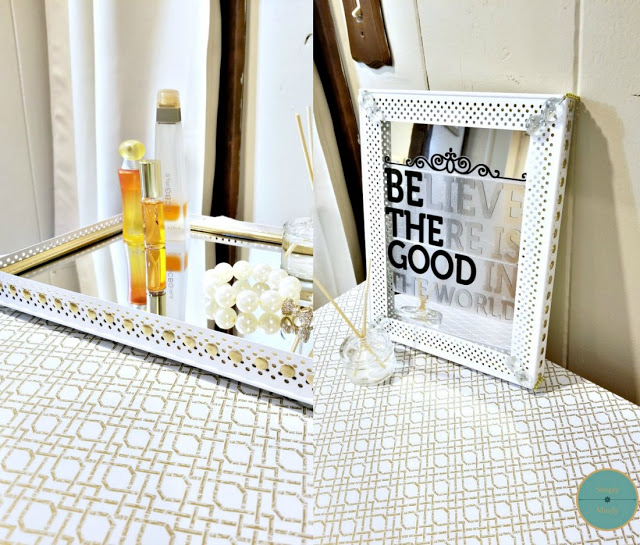
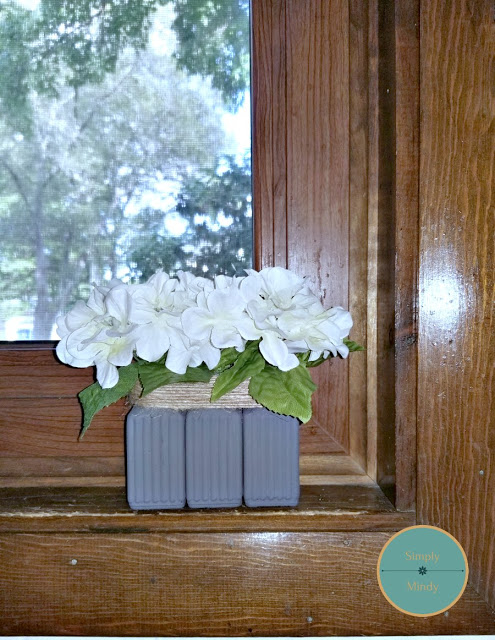
So, that's it!

I hope you enjoyed this project! This is so simple and easily customizable for any décor. It's also versatile. I could see this on a living room mantle, as a dining table centerpiece, maybe even in the bathroom. Oh the possibilities!
Thanks again, and God bless!
Living simply,
Mindy✿