

Farmhouse décor is all the rage right now! If you’ve set foot in just about any home décor store in the last year, you know what I’m talking about. These rustic signs are very popular among farmhouse enthusiasts, but I believe they would add a nice touch to just about any décor style. Let me show you how easy it is to put one of these wood signs together!
This post contains affiliate links. I may make a small commission if you purchase something when clicking on my links. It doesn’t cost you any extra!

You can find rustic farmhouse signs in stores like Hobby Lobby, Joann Fabrics, Michaels, and online from handmade sellers on websites like Esty. If you’re like me, you’re always looking for a way to do it yourself!
This diy rustic farmhouse sign requires:
1/4 inch plywood (cut to 12x24 inches)
1/2 x3/4 inch pine moulding (cut to frame the plywood board)
wood stain
vinyl cutting machine
I cut my wood board and moulding at home, but you can definitely get everything cut at your big box hardware store. Just be sure you know what measurements you need.

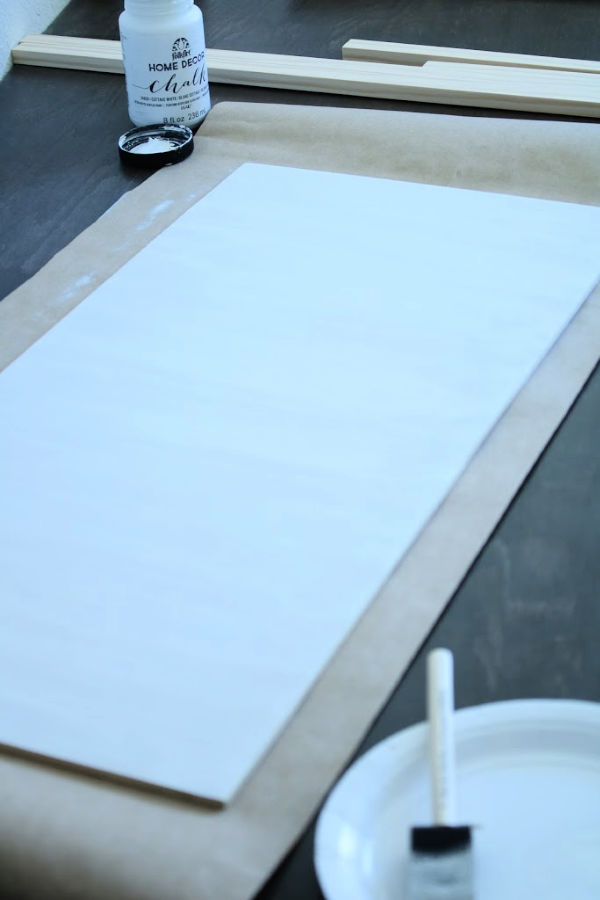
To start this farmhouse sign paint the plywood board using chalk paint. You could also use acrylic paint, but I find that acrylic paint doesn’t cover as well and takes longer to dry. To cover the wood completely, you will need to apply two coats of paint.
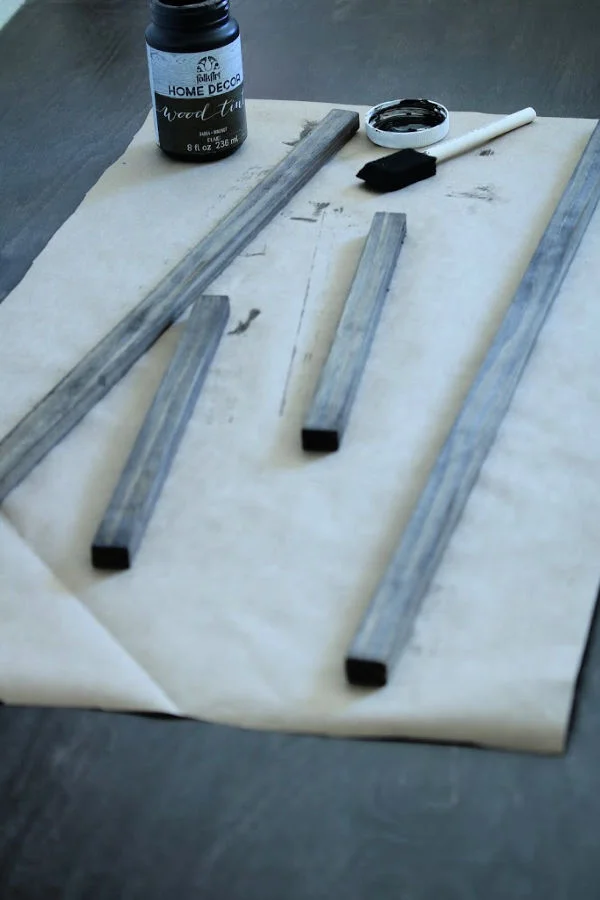
2. While the paint is drying on the board, move on to staining the frame pieces. You can use any type of stain to customize the color to your liking. I personally like this walnut wood tint for smaller projects because it dries really fast and its water based and non toxic, which means I don’t have to bring it out to the garage to use it!
3. Once all the piece are dry, it’s time to assemble the sign. Simply use the wood glue to attach each piece of moulding to the painted board. Use small clamps (if you have them) or put weight on the pieces and allow the glue to dry completely. You could also use small finishing nails for more security, but if you follow the directions for the wood glue it should hold firm.
*Quick tip: also stain the outside edge of the plywood so it will blend in and you won’t see a raw edge when you hang your sign.

4. Now you can add any quote you like using a vinyl decal or stencil. If you want to see how I created this vinyl decal using my Cricut, check out my post on how to create vinyl decals.

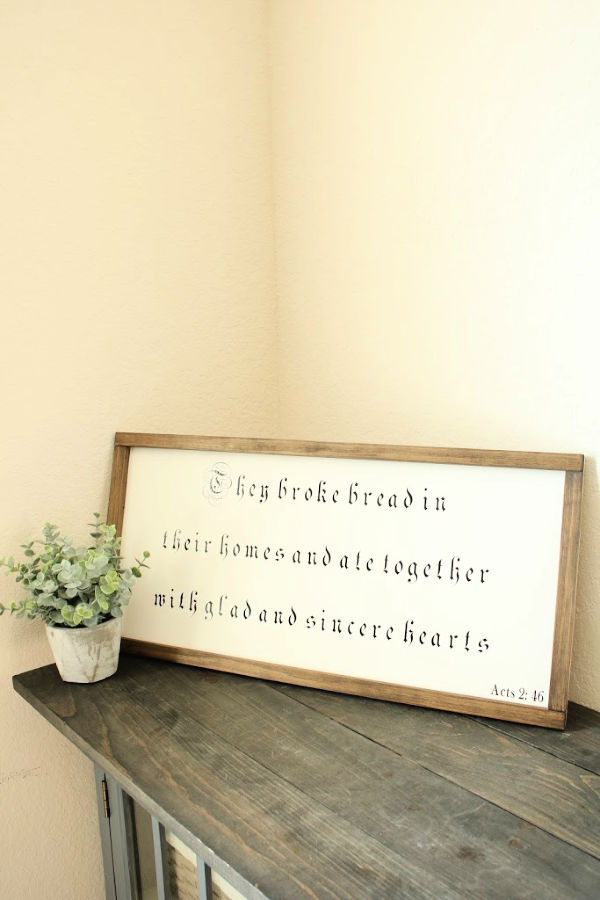
Even if you’re not into farmhouse décor, this diy wood sign can be customized with any paint or stain to fit into other décor styles. There are thousands of quotes or designs you can use to create a wood sign for your home or even as a gift for someone special!
Save For Later!

