

We are a “no shoes inside” household. For the last couple of months, my kids have been soo sweet organizing and re-organizing the pile of shoes in this closet! But, enough is enough! No matter how many times the shoes were placed neatly, it was only a matter of time before they ended up in a pile. Here is my solution!
This post contains affiliate links. I may make a small commission if you purchase something when clicking on my links. It doesn’t cost you any extra!

With this coat closet being long and narrow I knew I needed a shoe rack that would take advantage of not only vertical, but also horizontal space. This diy shoe organizer is five feet in length and is a super sturdy wooden piece!
The only tools required for this organizer are a saw, pocket hole jig and drill.
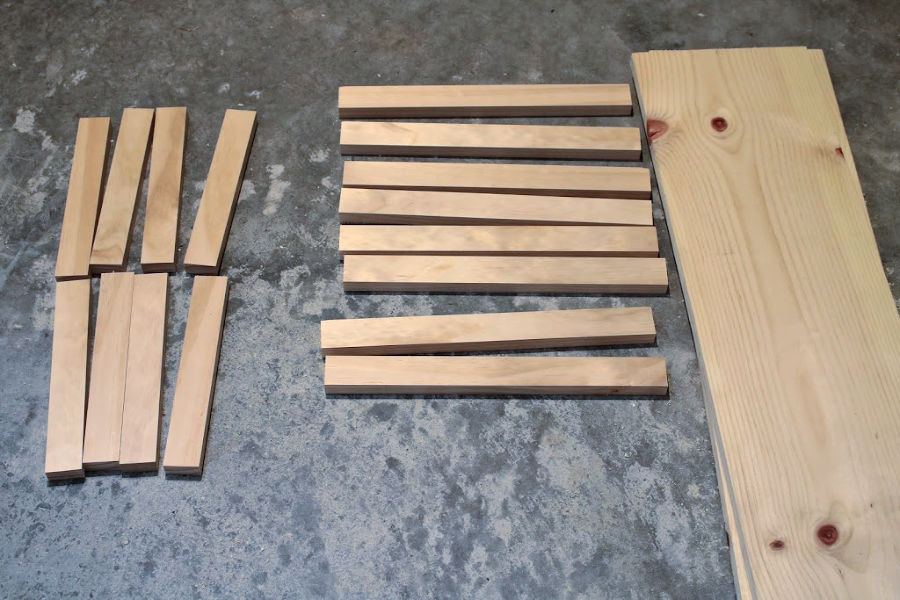
My shoe rack is constructed very simply out of 1x2s and 1x10s. I purchased (3) 1x2x8 boards and (1) 1x10x10 (which I had cut in half at the hardware store).
Here is my cut list:
(8) 1x2s @ 18 inches
(8) 1x2s @ 10 inches
(2) 1x10s @5 ft
I used my Kregjig to create pocket holes on both ends of each 10 inch 1x2. I created 4 “ladders” by attaching 2 of the 10 inch pieces to 2 of the 18 inch pieces using 1 1/4 inch pocket hole screws. The spacing is 6 inches from the bottom of the ladder, and 6 inches between the first and second 10 inch pieces.
I opted to paint the ladders using a black furniture paint. I need 3 coats to fully cover the raw wood. Spray painting would have been much easier!


2. I thought I would stain the 1x10 boards, but decided against it because I loved the contrast of the raw pine with the black painted pieces. Plus, I was already annoyed that it had taken me soo long to paint the ladders!
I sanded each board and sealed using polyurethane in a satin finish. I applied 3 coats of the finish, sanding lightly between each one.

3. To assemble the shoe rack I flipped the shelves over and placed the ladders on with the top facing down. I secured each ladder using 1 1/2 inch brad nails.
The spacing between each ladder is 18 inches, with the end pieces flush with the edge of the shelf.

This shoe organizer is perfect to hold most of the shoes in our 5 person household! And most importantly, no more piles! I love the modern look of the raw wood with just enough black to accent.

